Project 6: Raytracing in One Weekend
This project contains the code I have written for the book Ray Tracing in One Weekend. By the time it’s done, it will work the same way that the book’s code does, rendering many spheres resting on a plane, but the results will be visible on a Gui like the one I made for Project 5.
Table of Contents
Usage
Five windows allow the user to control many aspects of the application:
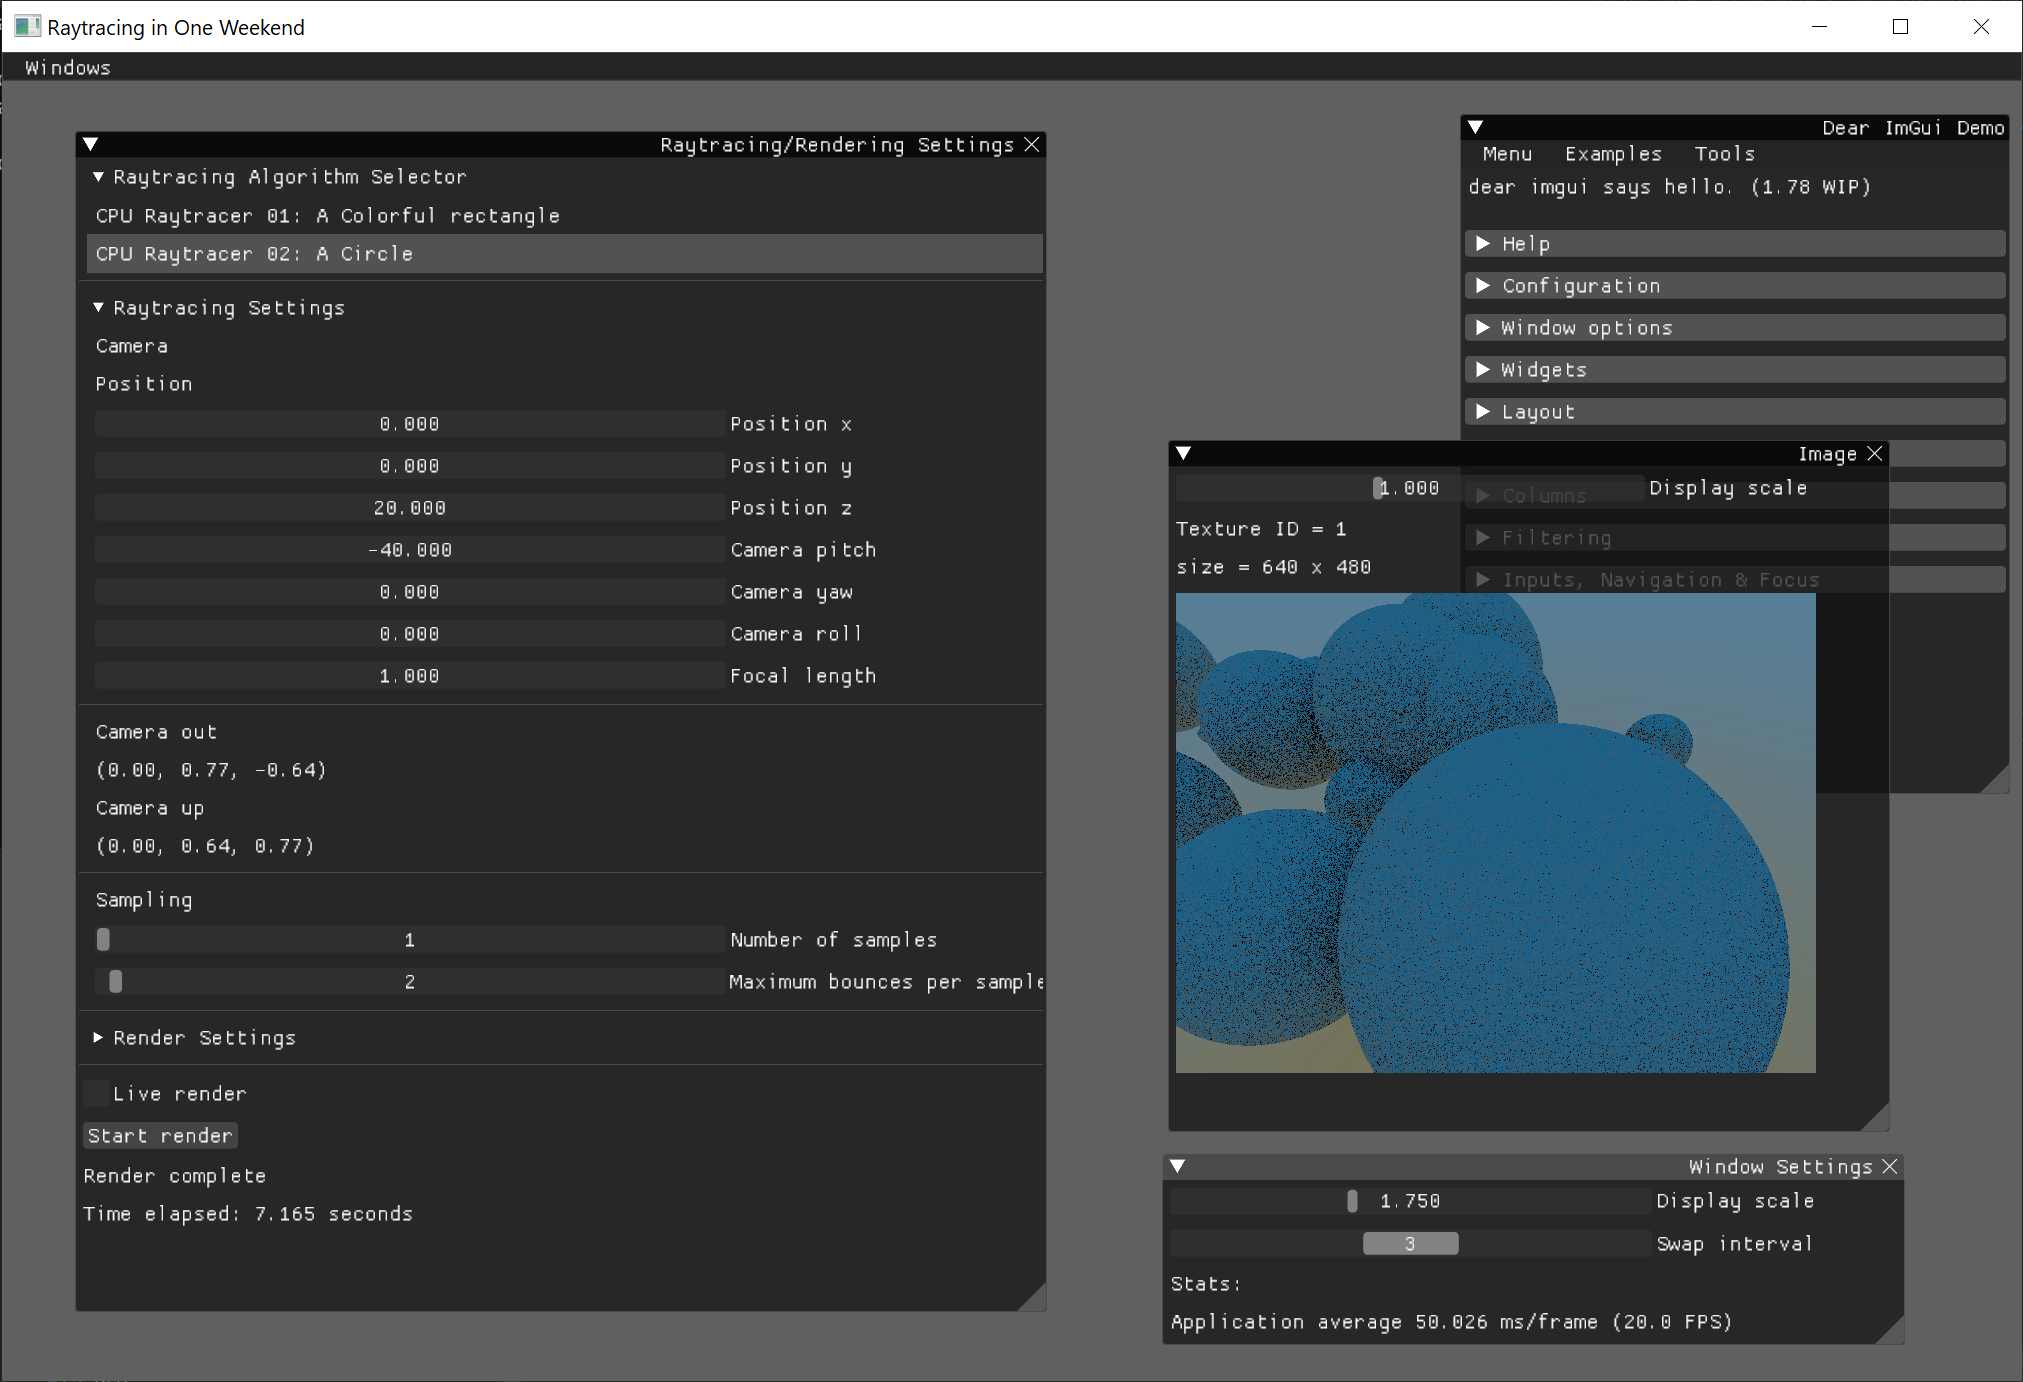
Image Viewer
This window shows the rendered image on the screen and some useful information about the image and its underlying OpenGL texture. It only has one control:
- Display Scale allows users to zoom in to and out of the image.
Hovering over the image creates a widget that allows the user to see a 4x magnified slice of the image.
Render Settings
This window controls the render pipeline. Its controls are separated into four groups:
- Raytracing Algorithm Selector sets the algorithm used for rendering an image.
- Raytracing Settings shows settings that are specific to the algorithm selected, including fields like camera position/direction and the number of samples to compute.
- Render Settings determine the size of the image to render.
- The Render Button begins the rendering process on a separate thread. The Live Render checkbox automatically starts the rendering process if an image is not currently rendering.
Window Settings
This window controls the graphics settings:
- Display Scale sets the magnification of the GUI, which may increase the viewing experience of users with high-DPI displays. This defaults to the operating system’s internal scale, but it can be set to any number.
- Swap Interval sets the number of monitor-refreshes to wait until the GUI redraws.
Style Editor
This allows the user to customize the aesthetics of the GUI. It can be exported to C++ code.
It is a window provided by and included in the ImGui source code.
Demo Window
This is a demo window provided by and included in the ImGui source code.
Framework
Four main file pairs control the user interface
main.cpp/main.h: a shell for starting the application. Only containsgui::begin();in amain()function.app.cpp/app.h: responsible for creating a window with GLFW, loading OpenGL through GLAD, maintaining a render loop, initializing ImGui before rendering, and rendering the GUI at the end of the render loop. It also contains some application-specific helper functions in the namespacegui:float estimateSystemScale(): uses GLFW to estimate the operating system’s native scale.GLFWwindow* getCurrentWindow(): gets the current GLFWwindow instance.void setSwapInterval(int newSwapInterval): sets the window’s swap interval, i.e. how many frame refreshes before the GUI refreshes. This also sets the UI’s framerate. Higher swap interval values yield a lower framerate, but reduce the CPU consumption and increase battery life of machines running the software. Note that this is specific to the operating system and may not work effectively.void setClearColor(int red, int green, int blue, int alpha): sets the color of the background.void setGuiScale(float guiScale): sets the scale of the GUI.- Most importantly
gui::begin()starts the GUI and is called frommain.
ui.cpp/ui.h: responsible for the GUI layout, controls, and behavior of the application. Without this files, only a blank window will be displayed.void setStyle(): sets the look-and-feel of the UI. The settings I provide in this code create a gray background with black windows, white text, and orange highlights, but all the preferences I set can be changed in the style editor built into the application.void populateUI(): responsible for the layout of the entire user interface.void initUI(): initializes the variables and settings used for the user interface prior to the first timevoid populateUI()is called.
UI/Graphics Separation
Rendering the graphics of a project this size was significantly more challenging than the simpler Project 5. But ImGui made the separation relatively easy due to its immediate-mode setup. This is how the render loop works:
- A function under
app.cppcalledrender()is called periodically frombegin(), and it updates the window at a refresh rate set by the user due to the vertical synchronization from GLFW. - Then
render()creates a new ImGui frame. - Then it runs the function
populateUI()to load all the ImGui widgets I placed in the GUI. - Then it calls
ImGui::Render() - Finally
populateUI()renders the ImGui frame on the OpenGL pixel buffer using ImGui_ImplOpenGL3_RenderDrawData() to show the GUI to the user.
Therefore, populateUI()is not at all responsible for rendering the UI, yet
it controls everything about the struture, layout, and appearance of the UI. Likewise,
render() controls the window and all tools used to display the GUI, but doesn’t need to
worry about how the GUI is set up or what it does.
Rendering
Rendering the image is done entirely by a single, separate render thread. The process for rendering is delegated to subclasses of the GenericCPUTracer class. These objects are given coordinates in the image space (e.g. (0,0) is the upper left-hand corner and (1,1) is the lower right-hand corner) and output a Color (a 3D vector).
A list of all known GenericCPUTracers is maintained in ui.cpp.