Project 8: CUDA and OpenGL
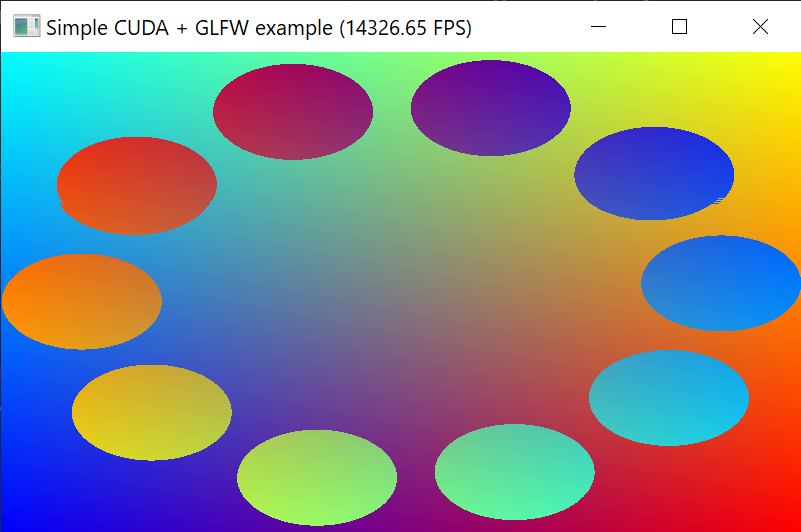
This project is much like a stripped-down version of Shadertoy, only the shaders are programmed in CUDA instead of GLSL.
It uses a CUDA kernel to perform per-pixel processing with a CUDA surface. The surface is synchronized with an OpenGL texture that is rendered on a quad that fills an entire GLFW window.
Table of Contents
How it Works
The code can be broken down into five components
Initializing GLFW and GLAD (in main())
This is the first step. The code was copied and pasted from project 4. It’s just a standard, resizable window whose dimensions are defined in windowWidth and windowHeight.
Creating an OpenGL texture (in main())
After GLFW is initialized, a new, blank OpenGL texture is created. There are four channels to the texture: red, green, blue, and alpha, and they are all stored as unsigned bytes. The texture uses a simple nearest filter for magnification and clamping for extension.
Creating a CUDA surface (in main())
This part took significantly more effort to resesearch. Apparently, CUDA has a data type that strongly resembles OpenGL textures, but CUDA calls it a surface. Surfaces have their own internal arrays to store color data (like OpenGL textures), but this data can be manipulated in CUDA kernels (unlike OpenGL textures), and they can’t be directly rendered on a GLFW window very easily (unlike OpenGL textures).
Fortunately, we can combine the benefit of CUDA surfaces (exposing data that can be processed by CUDA kernels) and OpenGL textures (directly rendering them on a GLFW window) with the following steps:
- Register the GL texture with CUDA, so it has its own cudaGraphicsResource value. (
cudaGraphicsGLRegisterImage) - Map the data to a CUDA array. (
cudaGraphicsMapResources) - Get the address of the first element in the array. (
cudaGraphicsSubResourceGetMappedArray) - Conceal the address in a CUDA Resource Descriptor
- Create a CUDA surface object from the resource decriptor (
cudaCreateSurfaceObject)
Now, the OpenGL texture and the CUDA surface can be synchronized with (cudaDeviceSynchronize), guaranteeing they both contain the same bitwise data.
Rendering (in main())
Rendering is done in four steps:
- The CUDA surface is updated by calling the kernel.
- The CUDA surface is synchronized with the OpenGL texture, so the texture contains the same bitwise data as the surface.
- A quad is textured with the synchronized texture and rendered on the screen.
- GLFW handles its buffers and polls window and device events.
Per-Pixel Rendering with a CUDA kernel (update_surface)
The update_surface kernel is run massively in parallel to compute the values of each pixel. On my GTX 1050m, the value of every pixel is calculated in up to 50 microseconds (>2000 FPS).
Resources
Code samples
- postProcessGL CUDA example (under 3_Imaging folder of CUDA sample programs)
- Allan MacKinnon’s example of GLFW + CUDA in C
- p-andelfinger’s example with SFML
- Project 04: OpenCV and GLFW (for creating OpenGL textures and using GLFW)
Tutorials
- OpenGL Interoperability with CUDA (from 3D Game Engine Programming)
Documentation
- Official CUDA Runtime API documentation
- Official CUDA documentation